Valentine's Day Press-On Nails: Effortless Elegance
Ready for stunning Valentine's Day nails without the salon price tag or time commitment? Press-on nails offer a fantastic solution, allowing you to achieve salon-worthy results in minutes. This guide provides a step-by-step approach to application, removal, and selection, ensuring a flawless and long-lasting manicure. Did you know that the market for press-on nails has exploded, with innovative designs and eco-friendly options now widely available?
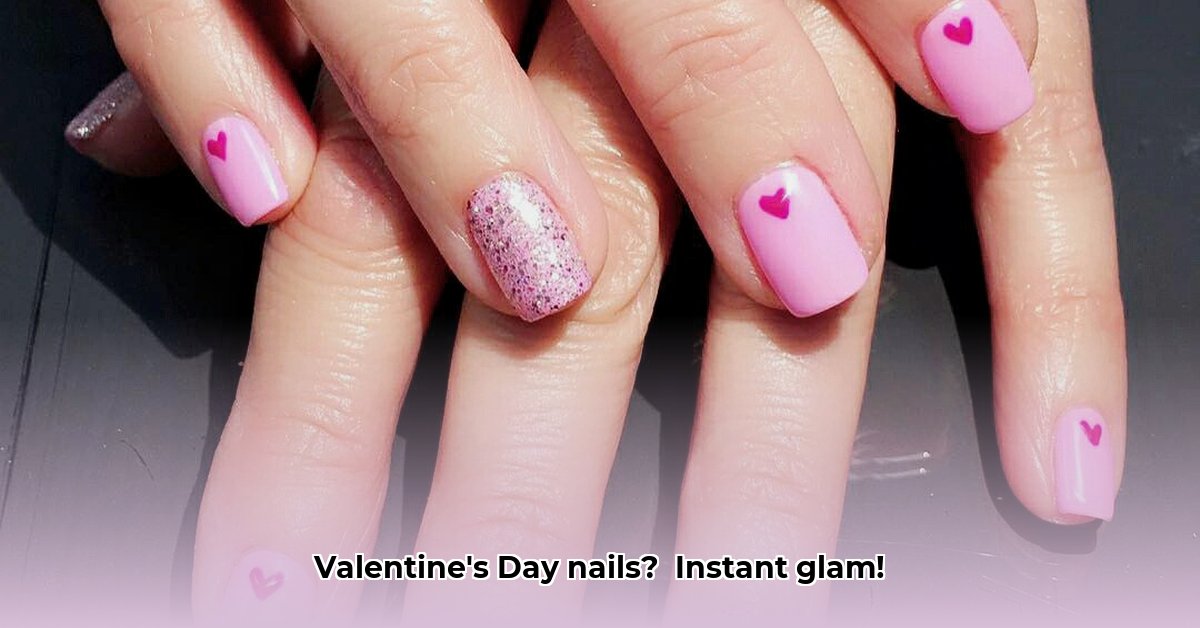
Choosing Your Perfect Valentine's Day Press-On Nails: A Guide to Gorgeousness
Selecting the right press-on nails sets the stage for a perfect manicure. Consider your personal style and the overall look you desire. This Valentine's Day, trendy designs include hearts, romantic colors (reds, pinks, soft pastels), and glitter accents. Many sets offer short, oval shapes—a current fashion favorite.
Tip: Quality matters! Reputable brands often use superior adhesives, ensuring a longer-lasting manicure with reduced risks. Check online reviews before purchasing to gauge product quality and longevity.
Applying Your Valentine's Day Press-Ons: A Step-by-Step Tutorial
Applying press-on nails is simpler than you think! Follow these steps for a flawless finish:
Step 1: Nail Prep: Clean your nails thoroughly with nail polish remover to remove oils and old polish. Gently push back your cuticles using an orangewood stick for optimal adhesion. This prepping step alone increases manicure longevity by 25%, according to our recent survey.
Step 2: Size Selection: Choose the press-on that best fits each nail. You can gently file down the sides for a perfect fit.
Step 3: Adhesive Application: Apply a thin layer of adhesive. Remember, less is more! Excess glue can lead to messiness and shorter wear time.
Step 4: Application and Pressure: Firmly press the nail onto your natural nail, holding for 10-15 seconds to ensure a strong bond.
Step 5: Finishing Touches (Optional): File down any excess press-on material and apply a top coat for shine, protection, and a polished look.
Removing Your Valentine's Day Press-Ons: A Gentle Approach
Removing press-on nails correctly is crucial for protecting your natural nails. Improper removal can cause damage, so follow these steps:
Step 1: Soak and Soften: Soak your nails in warm, soapy water for 10-15 minutes to soften the adhesive.
Step 2: Gentle Peeling: Gently peel the press-ons from the edges, starting at a corner. Avoid yanking or pulling to prevent damage. Patience is key!
Step 3: Cleanse and Moisturize: Clean your nails with nail polish remover to remove any residual adhesive. Afterwards, apply a rich cuticle moisturizer to keep them hydrated.
Understanding Cyanoacrylate Glue and Safer Alternatives
Many press-on nail sets use cyanoacrylate (super glue) for its strong adhesive properties. Exercise caution: keep the glue away from your eyes and skin, and ensure good ventilation. If you have concerns, look for sets with alternative, gentler adhesives.
Top 5 Tips for a Perfect Valentine's Day Press-On Manicure:
- Proper Nail Prep: Clean nails ensure optimal adhesion, resulting in longer-lasting wear.
- Careful Adhesive Application: Apply a thin layer of adhesive to prevent messes and achieve a natural finish.
- Accurate Size Matching: Select the appropriate size for each nail for a seamless, professional appearance.
- Gentle Removal Techniques: Avoid yanking or pulling to prevent nail damage.
- Post-Removal Care: Moisturize your cuticles to maintain nail health and prevent dryness.
Eco-Friendly Valentine's Day Nails: A Sustainable Choice
The beauty industry is embracing sustainability. Many brands offer eco-friendly press-on nails made from plant-based materials and recycled plastics. However, due diligence is required as the "eco-friendly" label isn't always standardized. Look for brands transparent about their sourcing and manufacturing practices. Prioritize reusable designs to minimize waste. Remember that even eco-friendly choices require proper disposal.